I don’t think we need to spend too much time telling you that a slow website is bad. You know that and that’s why you are here. Maybe you have seem some stats like this
- 1-3 seconds – the probability of bounce increases by 32%
- 1-5 seconds – the probability of bounce increases by 90%
- 1-6 – the probability of bounce increases by 106%
- 1-10 – the probability of bounce increases by 123%
Not only is it annoying and costing you customers, search engines like google take into account your page load speeds and will rank you lower if your site isn’t up to speed.
Everything here is free and available to you to use right away, so if you are looking for some easy ways to speed up your website you are in the right place.
GTmetrix
You have probably done this already, but if you haven’t, check your current website performance. There are plenty of options out there, 2 of our favourites are https://gtmetrix.com/ and https://tools.pingdom.com/
Simply put in your site URL and run the test to get your report.
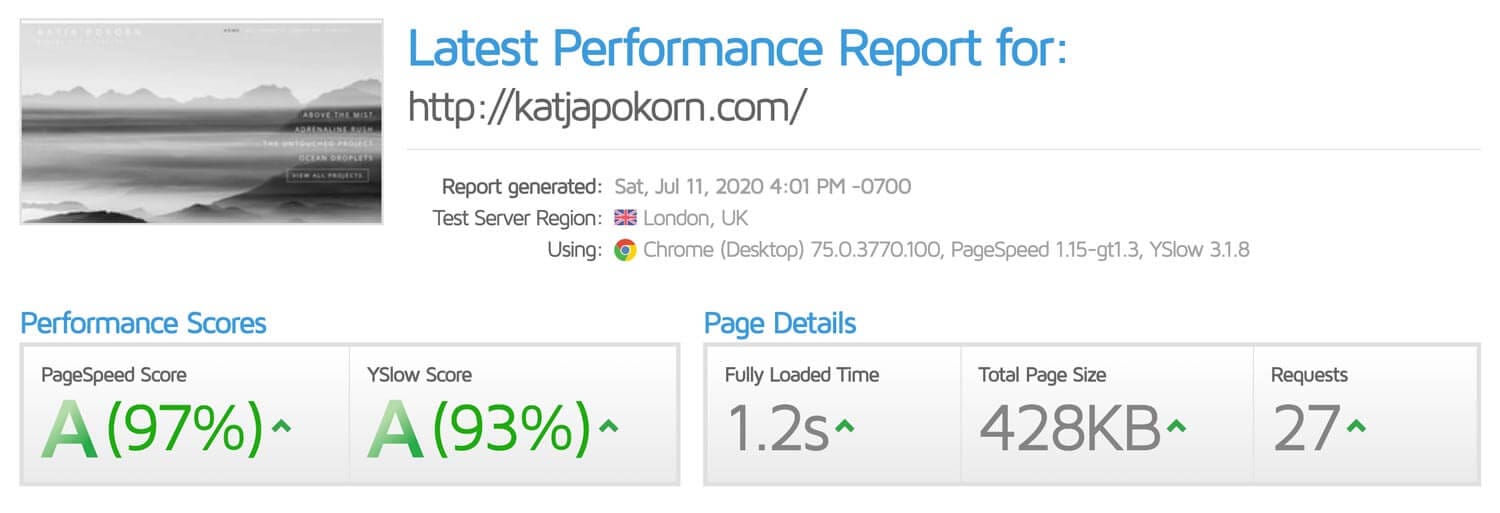
Green is good, but believe us, if you go those 100s you will be pulling your hair out. What’s most important is that your keeping that fully loaded time down as low as possible. We can do that by keeping the total page size low and keeping our requests as low as possible. We arent going to get into detail about these reports here as its a topic of its own, but if you scroll down on your report you will see a list of suggestions and areas to improve on.
If its all a bit overwhelming then you can get in touch with us and we can help you, whether it’s just some pointing in the right direction or a full site optimization. You can drop us a message in the comments or the contact form at the bottom of this page.
Images
So how can we speed things up? We can start by making sure our images are optimised and as small as possible, as most of the time, we see that oversized images are to blame for bulking up the page size.
Sure, you can go take pictures with your iPhone or fancy digital camera and whip them straight up on to your website…. BUT DON’T. Every image has a size and if you’ve got 10 full-size non-optimized images on your page that total page size is going to be huge, and we don’t want that. You have to optimize those images. There is actually a lot to it but as we said in the title these are all going to be easy and quick solutions.
In a nutshell we want to remove unused pixels, and compress the images to be as small as possible, and it begins before you even upload an image to your library. If you have images on your site currently that are bigger than they need to be you will see it on the GTmetrix report as ‘serve scaled images’ and if you click on it you can see also so specifically which images are too large.
At Fern Colab we start image optimisation in photoshop, but that’s not free so we will skip this bit.
Your normal HD screen is 1920 x 1080 so as a very rough guide if you want an image to cover the whole screen, make it around 1920 wide. If it only needs to be half the screen width make 960 or something. It really doesn’t need to be absolutely perfect, but as long as you understand that putting an image that’s 1920 pixels wide in a box that’s only 400 pixels wide is silly, then we are on the right track.
There are some free online tools that you can use to change your image size. https://picresize.com/ is one and it does the job, there is an option to put custom dimensions in so you can bring them down to a more suitable size easily.
Once you have done this we can make that image even smaller before we upload it. https://tinypng.com/ is an absolutely amazing tool, and we put every image we upload to a site through it. No idea how it does it but it’s like magic. Even if you do absolutely nothing else to your image, use Tiny PNG. It always surprises us just how much more this can save you.
Now we have some more appropriately sized and compressed images we can get them uploaded onto our website where we can actually further optimize our images. Yes… another step.
Download and install this plugin. It is a fantastic and free image optimisation tool. You can bulk smush your entire library and it will automatically smush future uploads.
We have the pro version of this plugin and we love it. Even after all of the above steps, it manages to squeeze those images to an even smaller size and we all know what that means for our page speeds by now don’t we?
Awesome work! If we had some poorly optimised images to start with thats going to have done us a world of favours. Head back to GTmetrix and you should see how much you have managed to save, and that load time should be better already.
Plugins
Pretty much every WordPress site uses plugins. They are fantastic was to easily expand the functionality of your site, you can drop in an Instagram feed or add some funky text effects. But they come at a cost, and that is in the form of requests, every plugin or integration will make a request as it connects to the server so it can load. So it’s time to be cutthroat and if you don’t really need it then just bin it. Just like when Porsche make a hypercar, they strip out all the weight they don’t need, no radio, no AC, no back seats! Let’s get this puppy slim and lightweight, your server will thank you for it by giving you better load times.
Caching
This is a crucial step in getting better load times! But what’s even is a cache?
In short caching stores recently viewed content, like your website, so that your server requests won’t be as high. Less requests, less work, less time.
A caching plugin generates a static HTML page of your site, which will be stored on your server. Whenever someone visits your site, the plugin will display the lighter HTML version as opposed to the heavy PHP scripts.
There are quite a few options out there to chose from and it’s actually very hard to say which does the best as it depends a bit on your website and the kinnd of content your delivering. A quick google search for wordpress caching plugins will churn out multiple posts comparing and reviewing different ones, but we aren’t going to do that here. We are just going to say which has worked best in our experience.
Here at Fern Colab we use a combination of LiteSpeed Cache and Hummingbird from WPMUDEV which is a premium plugin so we will just talk about Litespeed here.
You can download it here, then go ahead and install it on your site.
There are a million things you can tweak in this plugin, but let’s keep it simple. Here is a fantastic guide on how to set it up – https://docs.litespeedtech.com/lscache/lscwp/beginner/
This plugin will help optimize the way your server delivers it’s content. You can combine and minify CSS and JS files, enable lazy loading and so on. The documentation above does a great job of going through all the options you have. But if you weren’t using a caching plugin before, you are going to see some great improvements straight away.
Conclusion
That wasn’t too bad was it? Hopefully it all made sense and you were able to see some good improvements in your load times. This really is a topic that could go on for pages and pages. Website optimization has so many variables it would be impossble to write a post on everything, but these are just some quick, easy and free things you can do to help.
Another very important thing to consider is your hosting provider, they are not all equal! If your hosting is poor and slow your only ever going to get your site running so fast. Great hosting makes the foundations of a fast site, so don’t skimp by on the cheapest hosting plan you can find. Here at Fern Colab, we use A2hosting for ours and all our client sites and we can’t rate it highly enough. You can use our affiliate link here and check it out – https://www.a2hosting.com/wordpress-hosting?aid=5e8f678e291ca&bid=1addd0a4
Want to ask a question? Drop a comment below 🙂